Tag: dark chocolate

  • New York City’s Levain-style chocolate chip cookies

    New York City’s Levain-style chocolate chip cookies

    I’m not quite sure how I escaped it, but I only came across New York City’s Levain Bakery cookies a few months ago, despite their legendary status.

    After hours of research – comparing recipes, watching a 2008 video where the bakery’s founders shape the dough together . and a few tests in my own kitchen, I finally have a go-to recipe. Not quite the same as a flight to New York, but close enough.

    Six-ounce cookies with a deep golden crust and a fudgy crumb. I baked a few straight away, then tucked the rest into the freezer for later – because knowing they’re there, waiting, is a pleasure in itself.

    New York City’s Levain-style chocolate chip cookies

    Adapted from Hijabs and Aprons.
    Big, craggy, gooey-in-the-middle cookies inspired by the ones from New York's Levain bakery. Perfect with a glass of cold milk or an afternoon coffee.
    I find that these are even better on the day after I bake them. 
    I usually make a couple of big ones – weighing 160-170g – then roll the rest in smaller balls – approximately 60-70g each – and freeze for later use. 

    Notes

    On baking smaller cookies
    For smaller cookies, divide dough into 60-70g portions and bake for 10-12 minutes.
    On freezing cookie dough balls
    To freeze dough balls, place them on a tray lined with baking paper and freeze until solid. Then, transfer them to a freezer bag. To remove excess air without a vacuum sealer, insert a straw into the bag’s opening, seal the bag around the straw, and suck out the air. Quickly seal the bag upon removing the straw.
    When ready to bake, place the frozen dough balls directly on a baking sheet and bake, adding a couple of extra minutes to the usual baking time.
    On vanilla sugar
    Vanilla sugar is a staple in many French and Swedish homes. However, a teaspoonful of vanilla extract will do the trick if you don’t have any on hand.
    If you wish, you can even make your own vanilla sugar. I always collect used vanilla pods, wash them if needed, and leave them to dry in a pot in my skafferi [pantry] until crisp. Then, I mix 3-4 dried pods with 200-300g of caster sugar, grind them to a powder, and store it in an airtight container.
    Author: Fanny Zanotti
    Prep Time30 minutes
    Cook Time15 minutes
    Total Time2 hours 45 minutes
    Makes 8 large cookies

    Ingredients

    • 115 g salted butter at room temperature
    • 200 g light muscovado sugar
    • 50 g golden caster sugar
    • 1 tsp vanilla sugar
    • 1 tsp flaky sea salt
    • 2 eggs
    • 300 g plain flour
    • tsp baking powder
    • 1 tsp baking soda
    • 250 g walnuts roughly chopped
    • 300 g dark chocolate chips I used Callebaut’s 56.9%

    Instructions

    • Preheat the oven to 190°C / fan 170°C. Line one or two baking sheets with baking paper.
    • In a large mixing bowl, beat the butter, sugars, and salt until creamy, about 3 minutes.
    • Add the eggs, one at a time, mixing well after each addition.
    • In a separate bowl, whisk together the flour, baking powder, and baking soda. Add to the wet ingredients and mix until just combined. Fold in the walnuts and chocolate chips.
    • Divide the dough into 8 rough balls, about 160-170g each. Shape them loosely into balls.
    • Place on the lined baking sheet, spacing them apart.
    • Bake for 14-16 minutes, until the tops are golden brown with lighter patches. Let the cookies set on the hot tray for at least 10 minutes before moving them – this allows the centers to firm up.
    • Allow to cool down completely, and store into an airtight container.

  • My ultimate Swedish kladdkaka

    My ultimate Swedish kladdkaka

    I’ve shared this recipe before. Almost six years ago to the day. The first snow had just fallen down, and we had just moved into our then-flat, the one where our bedroom windows overlooked the rooftops of Skellefteå.

    Six years later, we now live in another flat, waking up to a forest of pines every morning. And although it is already late in the year, the first snow hasn’t come yet.

    Over these years, I’ve baked kladdkaka countless times, although the recipe has evolved a lot since I first posted it here. Nowadays, I always make it using three eggs. And I’ve reduced the amount of sugar I use – anywhere from 300 to 350g. The former gives more a fudgy cake, while more sugar means a cake on the soft, creamy side.

    But no matter how much sugar you decide to use, it is such a versatile cake and the batter comes together in minutes, with minimal dishes.

    Served with barely whipped cream and freshly picked berries in the summer, roasted pears and vanilla ice-cream in the autumn, and if you’re lucky enough to have wild blueberries in your freezer, then you could make my favourite version all-year-round: kladdkaka with blueberry compote and vanilla custard.

    Here is to many more years of kladdkaka!

    PRINT

    My ultimate Swedish kladdkaka

    Author: Fanny Zanotti
    Prep Time15 minutes
    Cook Time45 minutes
    Total Time1 hour
    Makes 22 cm cake, serving 8-10.

    Ingredients

    • 190 g salted butter
    • 300-350 g golden caster sugar
    • 1 1/2 tsp vanilla sugar
    • 3 eggs
    • 135 g plain flour
    • 55 g cocoa powder
    • 1/4 tsp sea salt

    Instructions

    • Preheat the oven to 175°C/fan 160°C. Butter a 22cm tin and line its bottom with baking paper.
    • Melt the butter in a pan set over medium heat. Off the heat, add the sugars and allow the mixture to cool down slightly for 2-3 minutes. Whisk in the eggs, one at a time, mixing well after each addition.
    • Add the flour, cocoa powder, and salt, and mix until just smooth.
    • Pour the batter in the prepared tin, and bake for 30-45 minutes, depending on how runny you want your cake to be. Allow to cool slightly down before serving.
  • Kladdkaka du dimanche

    Kladdkaka du dimanche

    [Swedish chocolate cake, of the Sunday kind]

    Everytime I come around here, a whole season has gone by.

    There was summer and its endless hours in the kitchen that I now call home. But before we knew it, the time for semester [holidays] came. And went.

    Two weeks in our stuga [cabin] in the middle of the woods; and I still stand by my words when I say Åsen is my dream place. A dream that – this time – we shared with my family who traveled the three-thousand kilometres between us.

    We picked blåbär [blueberries] and lingon; and my father – who’d never been this up north ever before – spent a day teaching me where to find mushrooms in the Swedish forests, reminiscing the mornings we’d busied up in the lower Alps more than twenty years ago now. We picked mostly giroles, but also ceps and chanterelles, although it was still a little early in the season for the latter.

    We visited the small factory where the dalahäst we cherish so much are made, a short twenty minute drive from the stuga, in the heart of Dalarna. My mother bought more horses that she could – literally – handle; and the picture I took on my phone will always be a favourite memory of mine.

    We baked traditional Swedish snittar and drömmar [biscuits] that now also have a strong following in a little house of the south of France.

    Then came the golden days – that I must admit, I almost wrote as “goldays”, perhaps I am onto something – of autumn.

    Long walks by the river to the sound of the wind through birch branches so tall it makes you dizzy. And no matter what, I will always be in love with the peculiar colour of a sun setting through these trees that are now a part of my universe.

    There is the smell of rain. And dead leaves too. And of pumpkin roasting in the oven, just so. There is the first frost, which I had predicted to the day. Yes, to the day! And the rönnbär [Rowan berries] we picked and candied; a jar that will probably be forgotten at the back of the fridge for another few weeks before it makes an appearance on our table.

    And rather unexpectedly, there was winter too.

    The day after we’d moved to our new flat. The view of Skellefteå rooftops from our bed; one minute black as coal, the next covered in a thick mantle of snow. A snow that lasted for a week, even though back then, we did not know that just yet.
    The following Sunday, we pulled the suspenders of our warm overalls up and wrapped ourselves in wool. A morning in the snow, and an afternoon by the kitchen stove. And somewhere in the middle, kladdkaka and wine were involved.

    My Swedish kladdkaka recipe
    This is not a recipe I had planned to share with you, although it’s one that followed us through the seasons.

    Served with barely whipped cream and freshly picked berries in the summer; roasted pears and vanilla ice-cream in the autumn, and now made in a cardboard box kitchen as we were unpacking the things we love enough to have taken along on the ride that took us here to the north of Sweden.

    Yes, this kladdkaka recipe is just that. An everyday wonder; whipped up in less then ten minutes, it can be as fancy or as casual as you want it to be.

    And today, I thought I’d test the halogen builders site light Kalle bought last year for me to be able to take pictures through our long winter. And that perhaps, you’d appreciate to have your Sunday fika sorted out for the weekend ahead.

    In case you still have your doubts, you should know Sam’s – 3 year-old – stance on the subject: “De är jättekladdiga!” [They are very sticky*].
    * A good thing since kladdkaka literally means “sticky cake”, although I have a feeling chewy would be more of an appropriate translation.

    My Swedish kladdkaka recipe

    Makes one 22cm cake, serving 8-10.

    125 g unsalted butter
    250 g caster sugar
    1 tbsp vanilla sugar
    2 eggs
    90 g plain flour
    40 g cocoa powder
    5 g sea salt

    Preheat the oven to 175°C. Butter and line a 22cm tin with baking paper.

    Melt the butter in a pan set over medium heat.

    Off the heat, add the sugars and allow the mixture to cool down slightly for 2-3 minutes. Whisk in the eggs, one at a time, mixing well after each addition.

    Add the flour, cocoa powder, and salt, and mix until just smooth.

    Pour the batter in the prepared tin, and bake for 25 minutes, or until domed and cracked on top. Allow to cool down completely before serving.

  • Gluten-free chocolate fondant cake

    Gluten-free chocolate fondant cake

    I wish you were here with me. Sat on the patio. There is a wooden table which I’ve slowly taken over: notes, drawings of mushrooms, a mug holding watercolour brushes, a mismatch of cameras, and a cup of coffee hotter than what I would normally fancy.

    From where I sit, I can see the logs Karl brought from the little shelter down in the garden on the same wheelbarrow we used to collect the hay that his father – Svante – cut on the day we arrived. They’re neatly piled and possibly enough to keep the fire going for a good week.

    There is two pairs of rain boots – my new favourite, as they will take me anywhere.

    And then, there is the forest. All around us.

    This morning, we saw the same hare I fell in love with yesterday. Hopefully, he’ll stick around here a little longer. Svante told me he probably had his eyes on the apple tree that stands right in the middle of the garden.
    But secretly, I think we’ve become some sort of wild friends.

    Yes, right now, I wish you were here with me. Listening to the sound of the forest after a rainstorm.
    It’s, perhaps, the most beautiful thing I’ve ever heard. The lightest raindrops hitting the moss. The cracking branches. The birds’ songs, and the happy merry-go-round of bumblebees. The wind going through soaked leaves.

    The house is quiet. Aside from an old timer ticking seconds like others tick boxes.

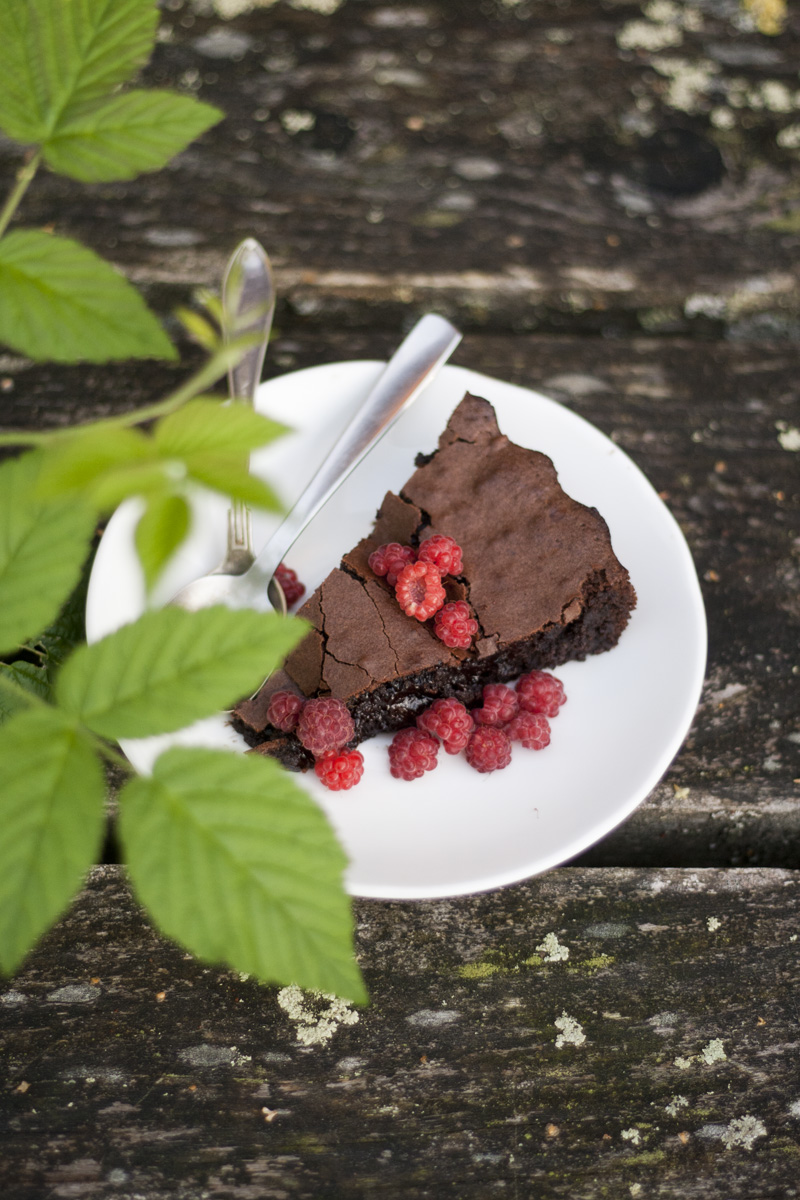
    You see, I have a gluten-free chocolate cake in the oven – hopefully cold enough by the time the boys will come back from their fishing expedition. The kind where coffee gets boiled over a bonfire and knee-high neoprene boots make you belong to the river. The kind where, when Karl will be here, he’ll smell of burning wood and will have too many stories to share.

    And just like the house smelled wonderful yesterday as I was baking kanelbullar. It now smells of chocolate. And rain.

    Now a few hours later, I went to pick – tiny – hallon [raspberries] by the pond. And all the times Karl told me to check for worms inside the berries finally made sense.

    I cut myself a thick slice of the still-warm cake, fudgy around the rim and slighty gooey in the centre. And with a handful of my rather small bounty and a tall glass of filmjölk, it was just as delicious as I had hoped for.

    Gluten-free chocolate fondant cake

    You could make this cake with ground almonds only, but I couldn’t resist to try the gluten-free oat flour I found at the supermarket a few days ago.
    The process is very simple. Not unlike a classic fondant cake.

    The eggs and sugar get whisked together for a few minutes, until the sugar has almost dissolved. Then the melted chocolate and butter get folded in. And finally the flours. A quick trip in the oven; and voilà!

    Gluten-free chocolate fondant cake

    200 g 70% dark chocolate
    250 g unsalted butter
    5 eggs
    250 g caster sugar
    50 g ground almonds
    40 g GF self-raising oat flour
    8 g sea salt

    Preheat the oven to 180°C, and generously butter a 26cm cake tin.

    In a heatproof bowl, melt the chocolate and butter; either in a microwave or over a pan of simmering water. In a large bowl, whisk the eggs and sugar for around 4 minutes, or until fluffy and almost doubled in size. You don’t want to overdo it, it’s just a matter of dissolving the sugar.

    Fold in the chocolate mixture, mixing well. And finally add the ground almonds, oat flour and salt. Pour into the prepared tin and bake for 24-28 minutes, until barely jiggling in the very centre of the cake.

    Allow to cool down completely before slicing. Or scoop while warm, like I did.

  • Éclairs au chocolat

    Éclairs au chocolat

    [Chocolate eclairs]

    When trees are shaped like hearts; and breakfast means just-brewed coffee slash bike ride slash jonchée eaten as soon as I’ve taken my gum boots off.

    And we run barefoot in fields of frost. And the grass glows to the moonlight in a way only gems can. With la grande ourse [the great bear] and a feral cat as our only companions for this aimless journey.

    We breathe the cold air and feel alive. We kiss and feel warmer. It’s the very instant that matters.

    Yes, at times, it’s ok to loose track. Of time, of purpose…
    Days are long. And nights too.

    Crossing off to-dos like there is no tomorrow, because, after all, holidays are made of no-tomorrows.

    Today, we made éclairs, à la Fauchon. It was fun, and messy. The kitchen ended up looking à la Fauchon too. Stripped with white and black fondants.

    It’s fine, really. It is.

    We licked our fingers. And ate an éclair, of the à la minute kind. Then scrubbed the counter until it no longer felt sticky. Just our mouths did. And that is a good sign, by all accounts.

    Éclairs au chocolat
    Inspired by Fauchon.

    If you can make choux paste and crème pâtissière, then it really all gets down to glazing an éclair with fondant, then piping straight lines of a coloured fondant. This can be made with either a piping bag or a paper cornet (the latter being my favourite, some things will never change, trust me).

    The only trick to know is to make sure both fondant have the same temperature and texture.
    For the chocolate fondant, I simply added a bit of cacao powder until it looked dark enough. Then mixed in 30°B syrup until the texture seemed just right.

    I guess it’s a bit of a trial and error at first. But it’s ok. We love sticky fingers around here.

    And since I’m at it, fondant is a kind of crystallised sugar that can be found in fancy shops. In case it’s nowhere to be found, try mixing icing sugar and a tiny bit of water…

    Both the choux paste and crème pâtissière can be made in advance. Since the paste is frozen, you can make it up to a week before. And the cream can stay in the fridge for a couple of days.
    However, once the éclairs are filled, they’re best eaten in the day.

    Éclairs au chocolat

    makes 12 éclairs
    for the choux paste
    one recipe of choux paste
    one egg
    , for eggwash
    butter, to grease the baking tray

    Make the choux paste according to the recipe.
    Pipe it onto a baking tray lined with baking paper into logs using a 15mm nozzle; then freeze. Cut into 13cm-long éclairs and arrange on a buttered tray. And bake until golden brown (tips on how to bake choux paste here).

    For the crème pâtissière

    250g milk
    100g cream
    2 egg yolks
    30g caster sugar
    15g cornflour
    100g dark chocolate

    Bring the milk and cream to the boil. In a bowl, mix the egg yolks with the sugar and cornflour. Pour the boiling liquids over the yolks, whisking as you go. Then place back into the pan and cook – whisking at all times – until boiling.
    Transfer to a bowl and add the chocolate. Handblend and clingfilm to the touch. Chill.

    Using a small nozzle, fill the eclairs. And set aside.

    For the glaze
    fondant
    cacao powder
    30°B syrup
    (100g caster sugar + 100g water, brought to the boil, then chilled)

    Melt the fondant over a bain-marie or in the microwave. Divide into two heatproof bowls. Add cacao powder to colour one of the batches into a dark brown fondant.

    Reheat both fondant over a bain-marie or in the microwave, until it reaches 30-35°C. Adding a little syrup to make it runny enough. Then using a small spatula or your finger, glaze the top of the éclair.
    Immediately pipe straight lines of dark fondant, making sure the tip of your bag or cornet is cut small enough (perhaps 2mm, the fondant will spread). Then run your finger along the éclair to clean up it sides and twirl the end of the piped lines.

    Repeat with the remaining éclairs. They will keep in the fridge overnight, although they’re best eaten on the same day.

  • Le fondant au chocolat

    Le fondant au chocolat

    [The ultimate chocolate fondant]

    In London, we’ve had winter in July. Air damp with rain. Kitchens warm with soup on the stove. Oven smelling like chocolate cake.

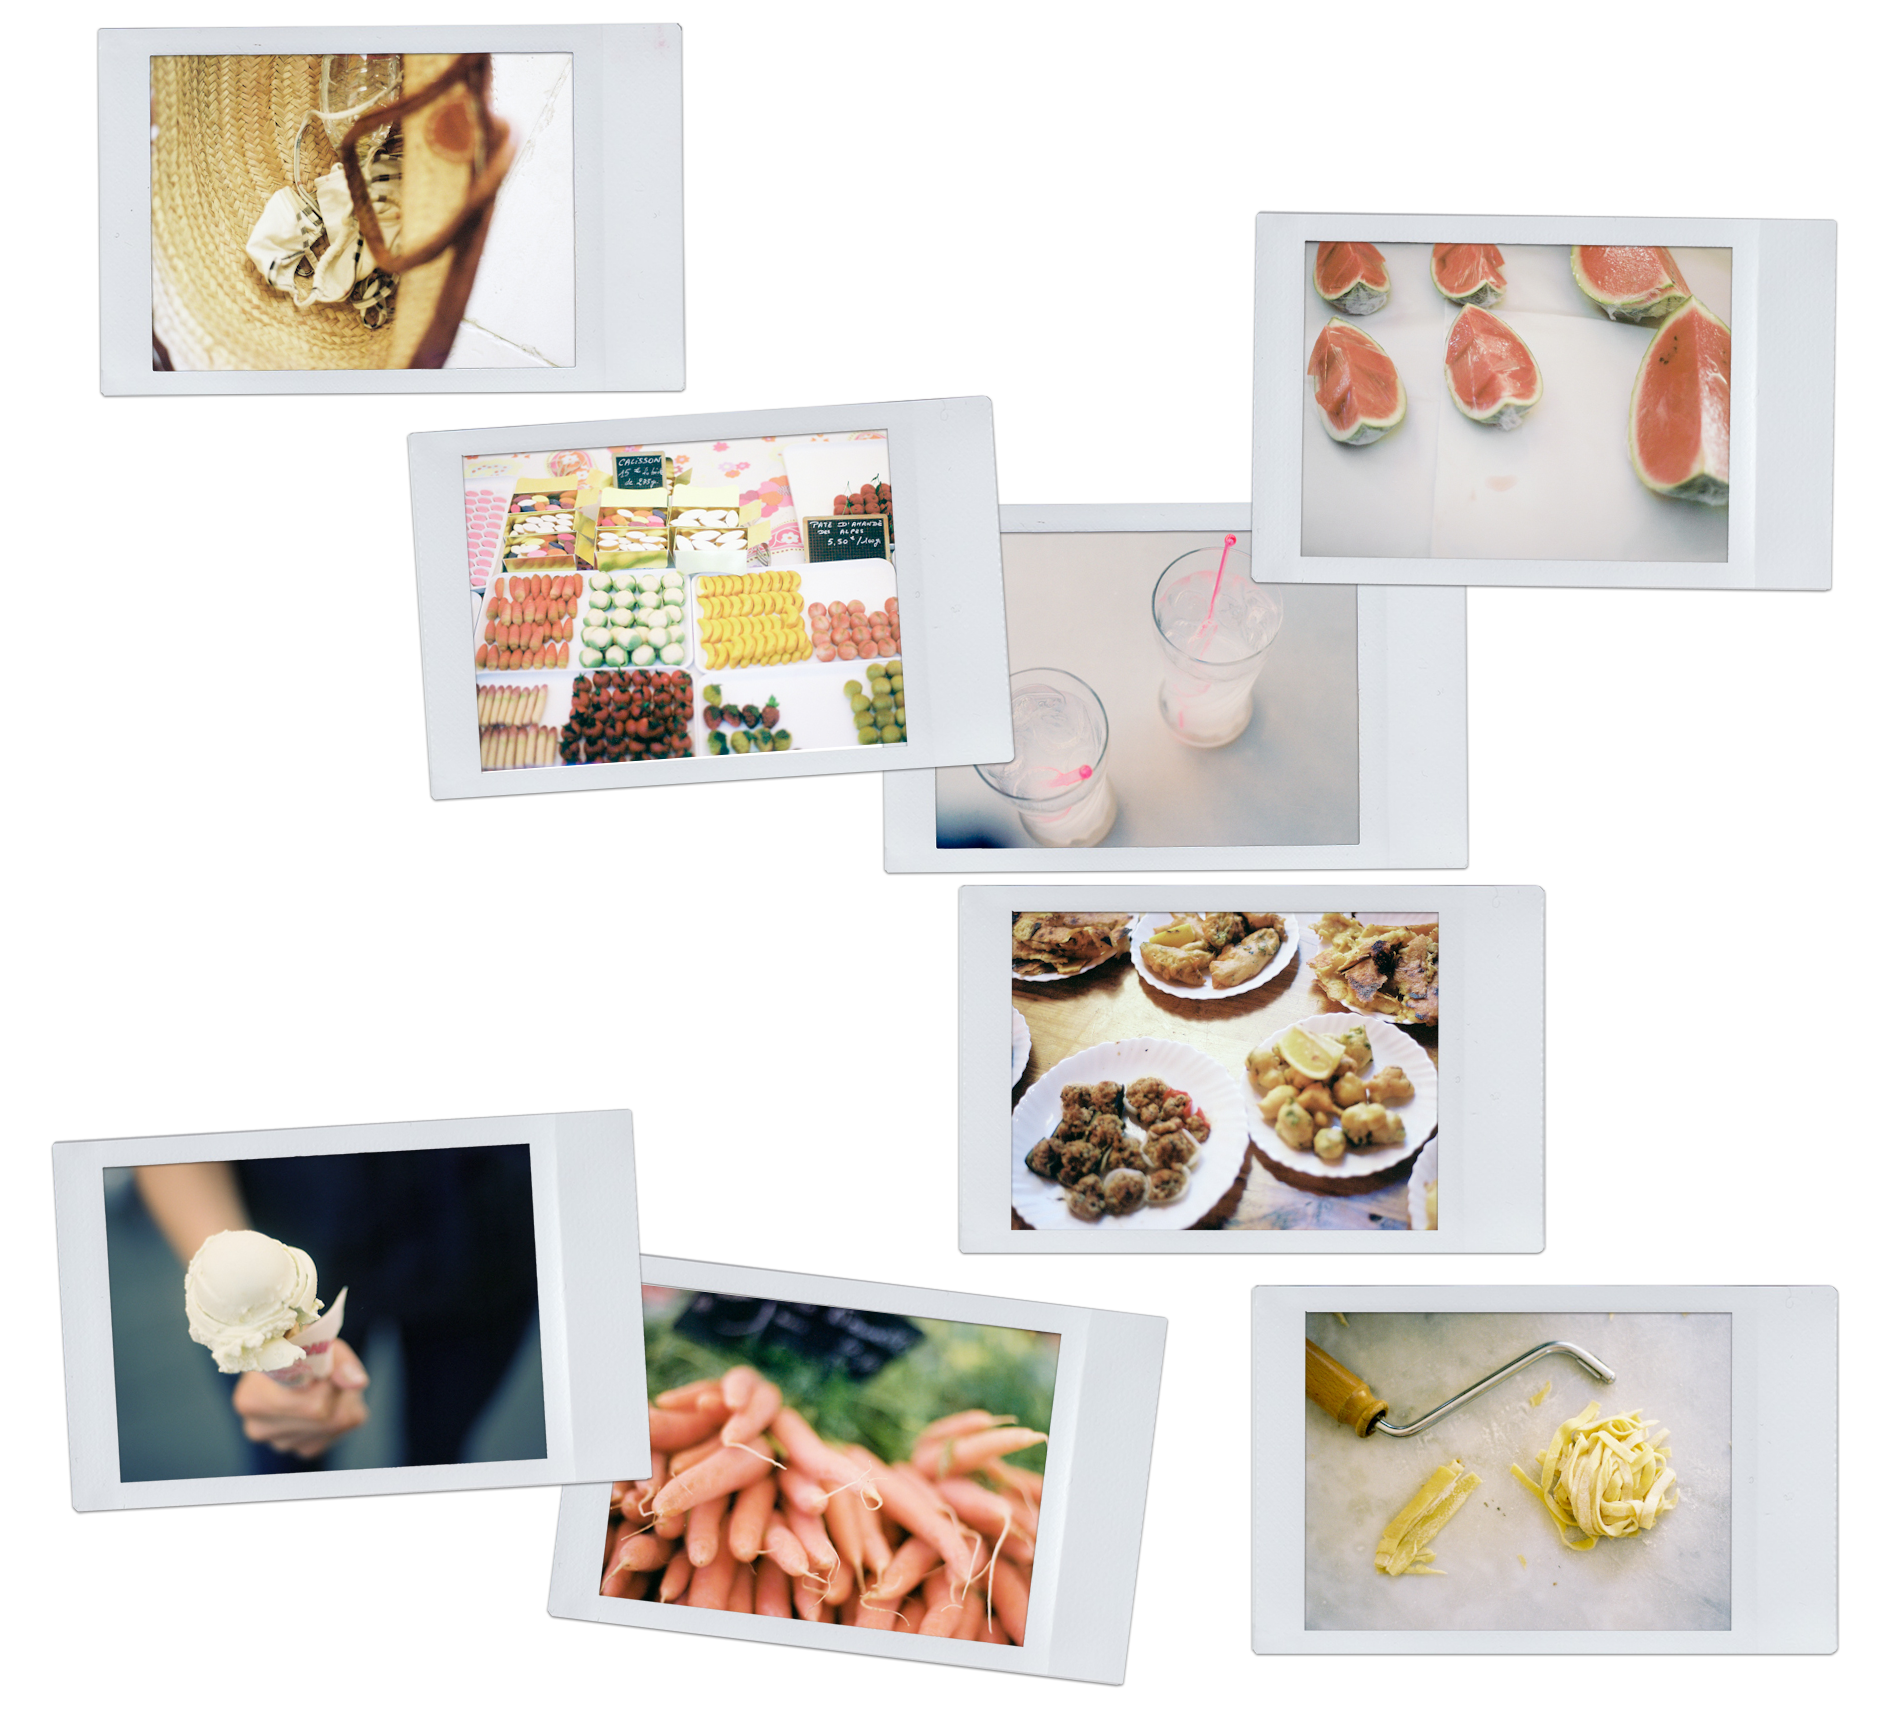
    And now, in the south of France, we’re having summer in September. Walks through the markets. Sirops d’orgeat at the terrace of the village café. Afternoons at the beach. Ice-cream, in a cone, please. Flip-flops at the feet. Deep-fried is a must, especially when it involves fleurs de courgettes. Watermelon; full-stop.

    It seems that whenever I come down here it’s summer. A summer of the out-of-season kind.

    It also seems that whenever I’m down here, I always return to the same cake. A cake of the homecoming kind.

    It certainly is my go-to. Because, let’s be honest, we all need one.

    One we make on Mondays. One we slice when still warm and slightly runny for a late afternoon indulgence. One we have for breakfast – the day after – cold from the fridge and dipped into the latte we overlooked as we were flipping through the pages of the newspaper. One we finish on Wednesdays after a dinner made of crusty baguette with a side of sliced tomatoes in their juices; perhaps with a scoop of yoghurt ice-cream.

    This cake is dark and dense. The very definition of a fondant.

    And since we’re at it, I shall let you know that what we – French – call fondant is somehow different to the fondants I’ve been known to bake à la minute for the restaurant.
    In fact, if you’re thinking about small little cakes with a melted chocolate centre, we call them coulants in good old France.

    So please, mind your French, will you 😉

    Fondant au chocolat

    Fondant au chocolat
    Adapted from Pascal Lac.

    I’ve told you about this cake before. It is, as I’ve mentioned above, a keeper. If you’re after a moist chocolate cake, then this is the one.

    Plus, it’s damn easy to make. Just chocolate, butter, eggs, sugar, and flour.
    Oh yes, ok, eight eggs and four hundred grams of sugar. Just forget about this and bake it in a 28cm pan for thinner wedges.

    It is worth it!

    When it comes to the chocolate, I like to use a slightly bitter, most possibly 70%. And I have to admit Valrhona Guanaja is especially great for cakes of all kinds.

    The only tricky – and when I say tricky, I mean very merely – step is to bring the eggs and sugar mixture to room temperature-ish over the heat.
    You can either do it straight over the gas, making sure to mix at all time while turning the bowl to ensure heat distribution. Or do it over a water-bath (which should not stop you from mixing and turning the bowl!).

    This step is done, as we say in French, to casser le froid [break the coldness]. And it will incorporate a little air in the eggs.

    Fondant au chocolat

    Makes one 24 to 28cm cake.

    200g dark chocolate
    240g butter
    8 eggs

    400g sugar
    130g flour

    Preheat the oven to 170°C, and generously butter a 24 to 28 cm springform pan.

    In a bowl, melt the chocolate and butter.

    In a heatproof bowl, mix the eggs and sugar – using a whisk – and place over medium heat (or as said above, on a water bath). Keep on mixing until not cold anymore. It shouldn’t be hot either.
    Pour the chocolate over the egg mixture, and mix to homogenise. Sprinkle the flour over and using a rubber spatula, gently incorporate it until just smooth.

    Pour the batter into the prepared tin and bake for 30 to 40 minutes (if you’re using a smaller tin) until just set.

  • Brownies fondants au cacao

    Brownies fondants au cacao

    [Cocoa fudge-brownies]

    Brownies fondants au cacao
    Adapted from Alice Medrich’s Bittersweet (thank you Deb).

    When I had my first bite of those insanely fudge-brownies, I felt sorry I hadn’t made them back when I first spotted them on Smitten Kitchen.
    At the time, I thought it would be nice to experiment but wasn’t sure the flavour would be au rendez-vous. But I was wrong. Not only the use of cocoa powder provides the brownies with an intense chocolate taste, but it also is the secret to their amazing texture (along with the high quantity of sugar that is).
    A new favourite at home!

    Edit 29.04.2020

    Over the past few weeks, I’ve received many requests to republish this recipe which I originally wrote about ten years ago. Ten years! I guess everyone could do with a slice of warm fudgy brownies at the moment.

    I haven’t made these in years! Instead, I’ve been baking kladdkaka , a Swedish cake, which is very similar both in terms of formula and texture; so much so that it may not count as different after all. It has become one of my go-tos, and I especially like to serve it with a vanilla anglaise and blueberry compote, which I can only urge you to try with these brownies!
    Or ice-cream that is, one can never go wrong à la mode!

    Brownies fondants au cacao

    Makes 16 squares.

    140 g butter
    280 g caster sugar
    80 g cocoa powder
    1/4 heaped tsp Maldon sea salt
    2 large eggs
    65 g plain flour

    Preheat the oven to 180°C/fan 160°C. Line a 25x25cm baking tin with baking paper.
    Combine the butter, sugar, cocoa, and salt in a bowl and cook over a simmering bain-marie, stirring from time to time until it forms a smooth mixture and feel hot to the touch (around 50-60°C).
    Set aside to cool down slightly, then mix in the eggs one at a time, using a whisk and stirring for a good minute after each one.
    Fold in the flour and spread the batter evenly into the prepared tin.

    Bake for 20 minutes, or until barely set. Allow to cool on a rack, then remove the brownies from the tin and slice into squares.

  • S’more cupcakes

    S’more cupcakes

    I came across S’mores quite late in life. A Michael Recchiuti book. A tiny note at the bottom of a page.
    S’mores.
    A piece of chocolate and a marshmallow, sandwiched together in crisp graham crackers. After a quick moment in the oven, the chocolate and marshmallow melt into each others, making for the most delicious sandwich ever.

    Yet, I’ve never had the chance to taste S’mores – let alone graham crackers. And that’s perhaps why they kept haunting me.

    I thought of making a S’more tart. Picture a crust of crushed homemade graham crackers, topped with a thin layer of dark ganache, and covered with a pile of fluffy Italian meringue. And then Deb did it. And it looked wonderful.

    But well, I eventually forgot about it. The tart, that is. S’mores still had their place in my dreams.And when I started thinking about all the cupcakes I could put together for this month’s SHF, you can guess what came first.

    S’more cupcake. A graham cracker inspired cake – or at least one that taste like I imagine graham crackers do. A thick dome of meringue. A dark chocolate ganache coating.

    S’more cupcakes

    With a healthy dose of chocolate and fluffy meringue, these cupcakes will please almost everyone.

    The cake is fragrant with brown sugar, cinnamon and vanilla; and has that slight saltiness I suspect graham crackers have.
    The marshmallow cream is sweet but not overly so. Also, the seeds from one vanilla pod would work wonders here.
    And well, the ganache… Deep, dark and smooth. You definitely don’t want the chocolate flavour to be overwhelming here, so aim for a thin coating.

    You’ll have more ganache than needed but it is necessary to be able to dip the cupcakes. The leftover ganache can be frozen in an ice-cube tray and is amazing in a cup of milk for an almost instant hot chocolate.

    Just a quick note on the flour: although I havent tried, I’d be tempted to substitute the plain flour for 100 g plain flour and 60 g wholewheat or graham flour. Let me know if you do 🙂

    s’more cupcakes

    Makes 9 small cupcakes.

    For the cupcakes
    160 g plain flour (read note above)
    3/4 tsp flaky sea salt
    1 1/4 tsp baking powder
    1/8 tsp ground cinnamon
    60 g unsalted butter, at room temperature
    85 g light brown sugar
    1 egg
    1 tsp vanilla extract
    160 g whole milk

    For the meringue
    75g caster sugar
    2 tbsp water
    1 egg white
    a pinch of salt

    For the ganache
    150 g whipping cream 35%
    150 g dark chocolate, chopped

    Preheat over to 190°C/fan 170°C.

    Mix the flour, baking powder, salt and cinnamon in a bowl.
    Cream together the butter and sugar. Beat in the egg, until fully incorporated; and the vanilla extract. Add the flour mixture in three batches, alternating with the milk.
    Divide the batter evenly among paper cups lined on a baking tray, and bake for 20 minutes or until cake tester inserted into centre of the cupcakes comes out clean.
    Allow to cool on wire rack before frosting.

    Make the meringue. Place the sugar and water in a small pan and cook over medium heat to 115°C.
    When the syrup reaches 110°C, start whisking the egg white and salt on low speed until stiff peaks form.
    Wait for the syrup to stop bubbling – around 30 seconds or so – and pour over your meringue, whisking as you do so, along the sides of the bowl to avoid splashes. Once all the syrup as been incorporated, increase the speed to medium and keep on whisking until the meringue is around 50°C.
    Pipe the meringue onto the cupcakes and smooth it with a spatula to form a neat dome. Chill while you get on with the ganache.

    Make the ganache. Bring the cream to a rolling boil. Pour onto the chocolate in three times, emulsifying well to create a glossy core.
    Transfer to a small bowl and dip the cupcake tops.

    And don’t forget. Sugar High Friday is running until the 26th of September. So put your aprons on. Get your wooden spoon and whisk. And make cupcakes!